
Ghost is an amazing blogging platform, and also one of the hyped blogging platform out for public. It is a light-weight open-source blogging platform. Ghost is fully customizable, with many themes available. In my first blog, I am going to introduce you to this platform along with the steps required to host your own blog free with GitHub-Pages and Buster.
Prerequisites:
- One 1GB Ubuntu 16.04 server set up by following the Ubuntu 16.04 initial server setup guide.
- A supported version of Node.js.
- Either yarn or npm to manage packages.
- Python 2.7(for Buster).
Setup
We will walk step by step to setup ghost and buster locally and host your blog on GitHub-Pages.
Step 1 - Installing Ghost-CLI and Buster
To install ghost-cli run the following command in your terminal:
npm install -g ghost-cli@latest
To install Buster make sure you have python2.7 installed on your system. To install it run the following command in your terminal:
pip install buster
Step 2 - Install Ghost
Create directories:
mkdir web-blog
cd web-blog
mkdir ghost buster
To install Ghost make sure you must be inside ghost directory.
cd ghost
ghost install local
If you get something like below everything worked perfectly.
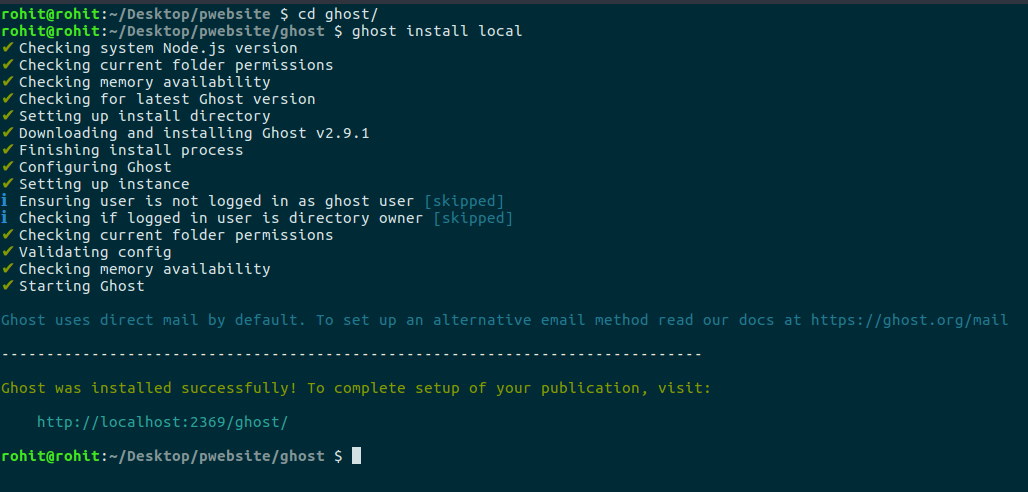
Now your blog is running on localhost:2368. To configure that visit localhost:2368/ghost and you will get:
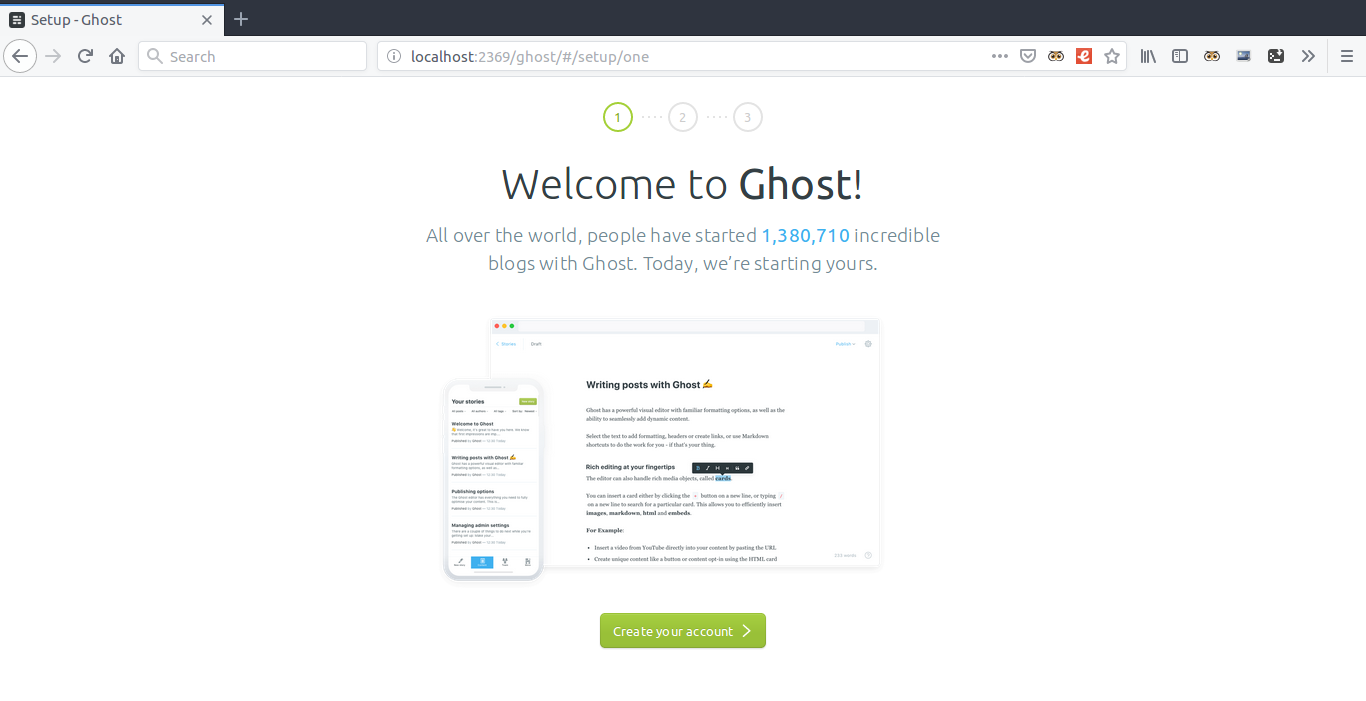
Click on Create your account and add your details. After going through the setup process of admin account, you will be able to see the admin dashboard:
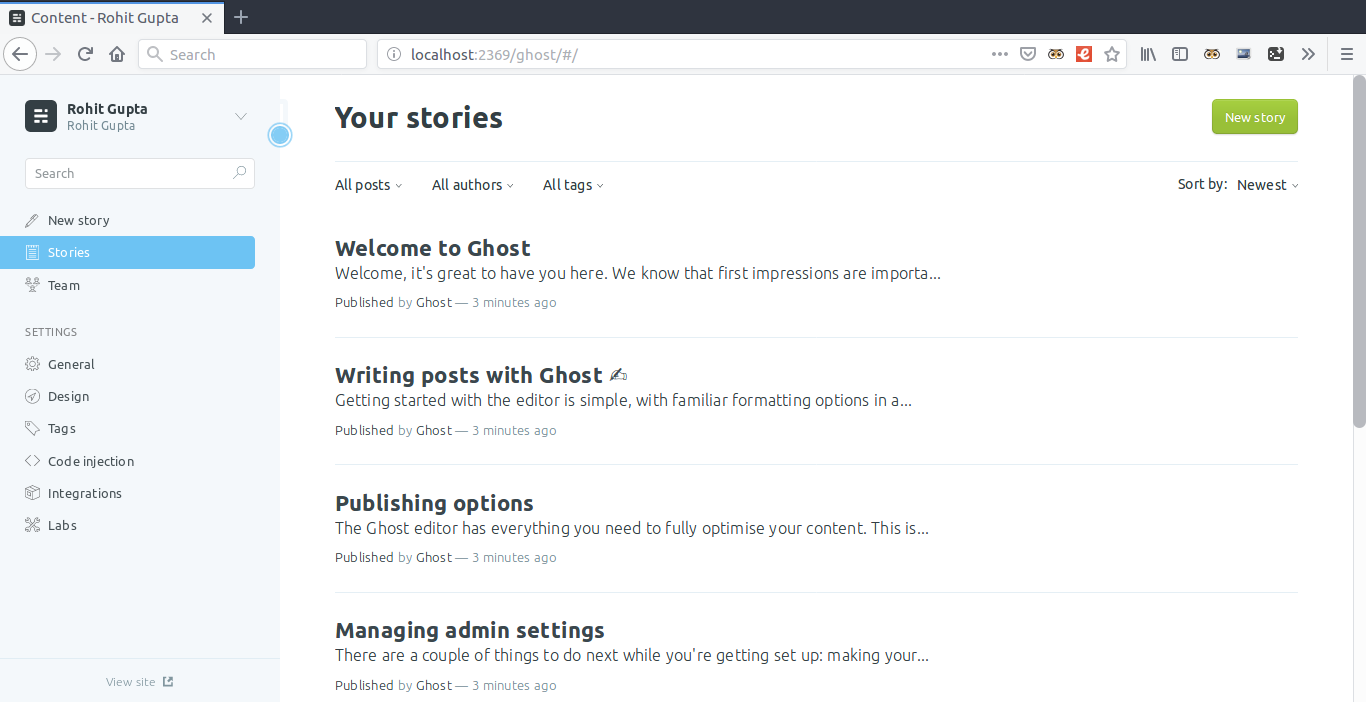
Voila! Your blog is created. You will see some blogs created by Ghost for us. You can remove them manually or from the Team section.
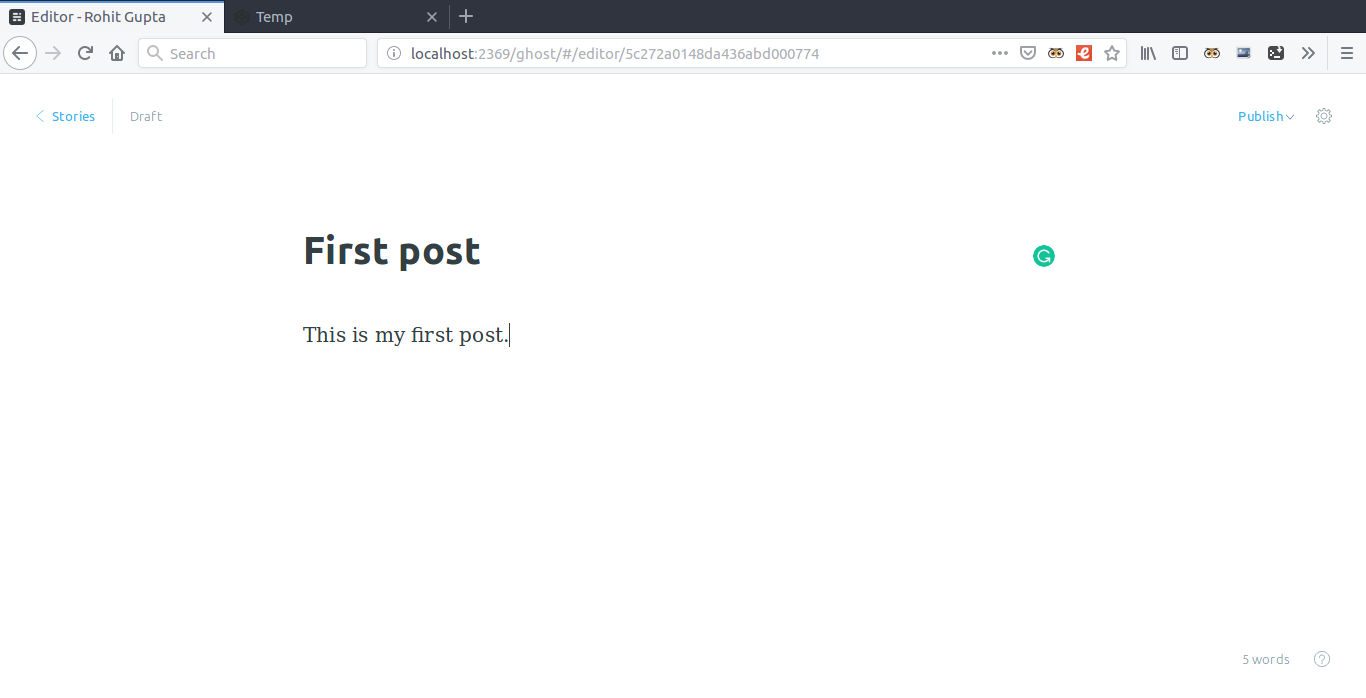
Step 3 - Create your first blog.
Click on New story and write your own first blog. Ghost comes with some amazing features and interactive tools which can help you write content, add links and images, embed videos and also create markdowns. So let's create your first blog.
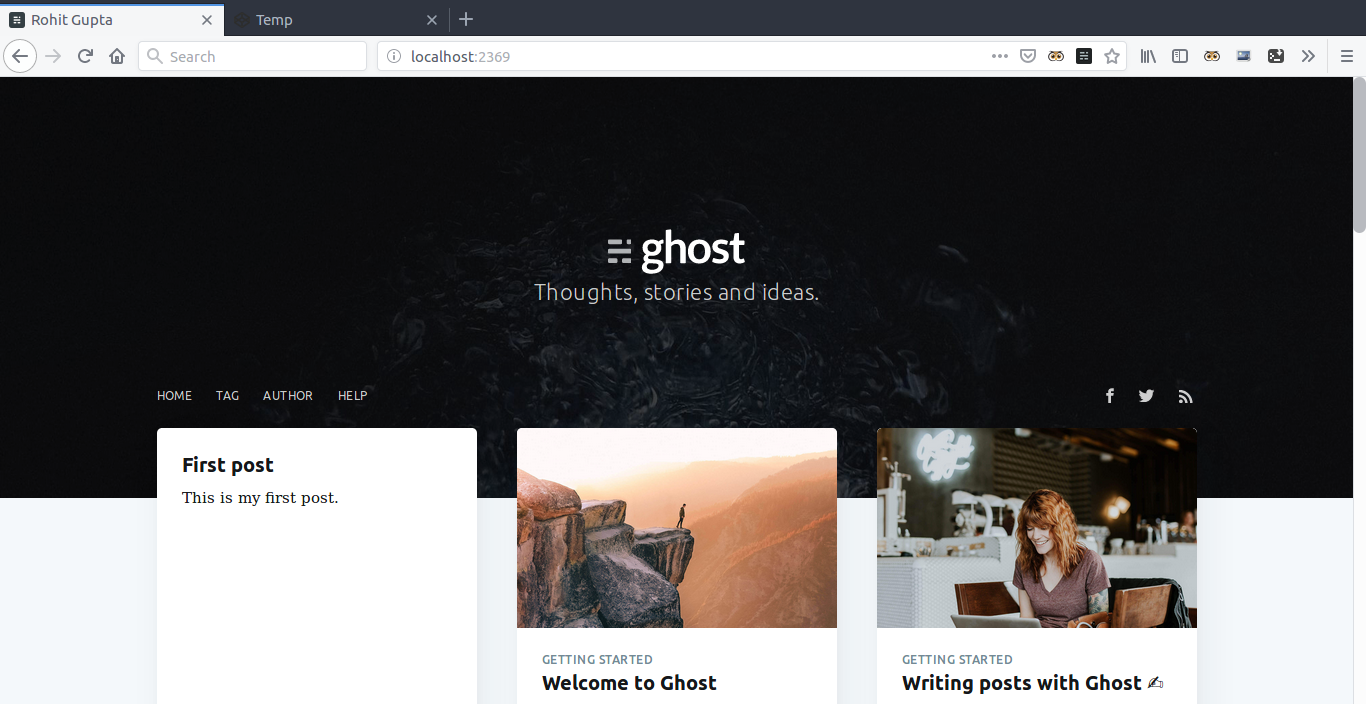
Add more content to it and click on Publish to publish it. Now go to localhost:2368 to preview your blog.
Step 4 - Configure Buster
Go to your GitHub and create a new repository and name is username.github.io. Copy the link of your github-repo.
NOTE: After creating your GitHub repo, navigate to ghost directory and create a file config.production.json similar to config.development.json. Inside that file replace "localhost:2368" with "username.github.io" under the "url" key. This will tell buster to replace the local-url with github-page url.
Inside the terminal navigate to your buster directory and run the following command.
cd ..
cd buster
buster setup
It will ask you for your GitHub repo link you have copied before. Paste it and press enter. Make sure your Ghost server is still running by visiting localhost:2368. Generate static files using command:
buster generate --domain=localhost:2368
Buster will generate all the necessary static files inside the directory. You can see them inside the static folder.

To preview the Buster generated static files inside the browser run the following command and visit localhost:9000.
buster preview
You will see the page similar to the one on localhost:2368 hosted by Ghost. It they are same congratulations, Ghost-Buster is working perfectly.
Step 5 - Hosting on GitHub
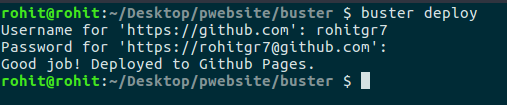
Buster does git configuration itself. You just need one command to push it to GitHub. Navigate to buster directory and run the following command to deploy the code to GitHub:
buster deploy
You will see something like this.
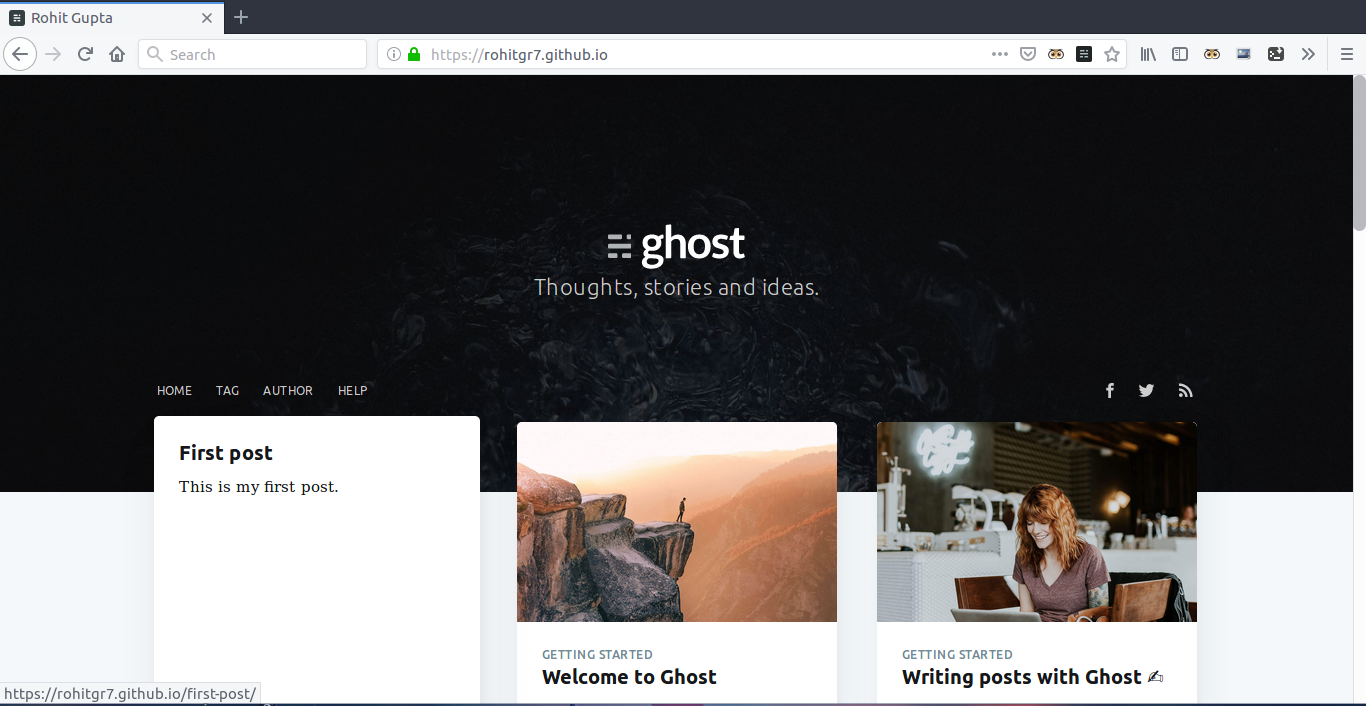
Now GitHub will automatically host your website. You can go to username.github.io to view your blog.
Step 6 - Stop Ghost
Navigate to ghost directory and run the following to view all the running servers:
ghost ls
Stop the Ghost server:
ghost stop
Creating your second post
To create a more blog post just follow the following procedure:
- Navigate to ghost directory and run
ghost start. - Go to localhost:2368/ghost.
- You might need to login again. Use same email and password for that.
- Click on New Story and create your blog.
- Publish it.
- Inside the terminal navigate to buster directory and run
buster generate --domain=localhost:2368. - Preview if you want using
buster previewand navigating to localhost:9000. - Go to terminal, stop the Buster server by pressing
Ctrl-Cand runbuster deployto deploy to GitHub. - Go to your web-blog.
- Boom! Another blog is published.
- Close the Ghost server by navigating to ghost directory and run
ghost stop.
Maintenance and Backup
Since your blog is saved locally on your system, you need some setup to save your blog and its settings so you won't loose anything. To do that Ghost provides import/export setup so that you can load/save your blog. To do that start your Ghost server and visit localhost:2368/ghost and go to Labs section. Click on Export. This will create a .json file which will contain all your blog content and settings. This will not contain the images you might have added to your blogs. To backup the images navigate to ghost directory and go to content/images. Store the .json file generated and the images as a backup somewhere else(maybe on google-drive). Now whenever you lost your blog locally, follow the same procedure by creating a new blog using ghost install local. After the blog is created go to Labs section again and this time click on Import. Select the backup .json file and import it. To restore the images, paste the backup images folder inside the same directory. Boom! your blog is restored.
Conclusion
Hopefully you are able to decide whether Ghost is a suitable blogging platform for you after playing around with it. If I find anything new I will update the post accordingly.
Keep blogging!
